Why publish a commentary concerning changing icon|a photograph} to black and white? Nothing’s easier ! any photo piece of writing computer code permits you to perform this operation with one click. No want for light-weight area to try and do this … Yes, however what I propose nowadays is to be told the way to use the tools of this computer code to seriously change the atmosphere of your photos …
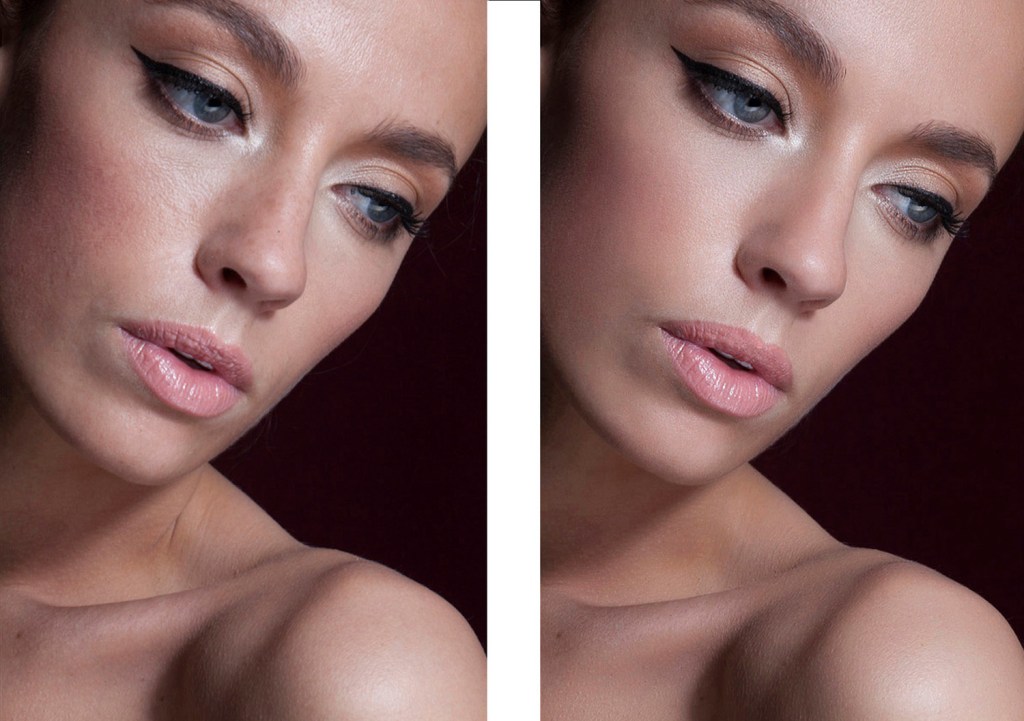
The example of the photos higher than speaks for itself: troublesome to mention that is that the one nighest to reality. Since we have a tendency to see the planet in color, the passage of a picture in black Associate in Nursingd white is essentially an abstraction of reality. Therefore, we have a tendency to simply perceive that we’ll be ready to use the large prospects offered by the digital to be ready to highlight a specific part of a photograph or to alter its atmosphere …
And, to try and do that sort of labor, light-weight area is nice computer code. This, for many reasons:
Since the settings applied to your pictures ar nondestructive, you’ll check totally different black-and-white conversions. This, while not risking modifying the initial image.
Creating virtual copies will enable you to match totally different conversions and choose the one that offers impactive} effect.
The tools that he proposes (colored layers) ar utterly custom-made to the belief of this sort of labor. you will even be ready to make the most of partial turning, vignetting or grain choices to convey a touch retro impact to your pictures …
The conversion to black and white.
I say before you begin, you’ll forget the technique of saturating your pictures (saturation slider). The result can most likely be boring and plain. If light-weight area has created a particular perform to perform these conversions, there’s a reason!
To convert a photograph to black and white in light-weight area, follow these steps:
Create a virtual copy of your image (right click on the fingernail so “Create a virtual copy). All changes can currently be applied to the current copy.
Convert the virtual copy of your exposure to black and white. To do this, you’ve got 2 solutions:
The first is to travel to the module Development then to click Black / White in basic settings (1).
Basic Settings window in light-weight area
The second is to use the predefined parameters of sunshine area (left within the development module). These are literally tiny scripts that may enable you, in one click, to use effects mechanically to your pictures (2).
Presets window in light-weight area
Then refine the reminder grey taking part in on the sliders cherish the colours you would like to switch (3). This perform, normally referred to as digital diaper mixer, is known as Black and White combine in light-weight area. as an example, if you would like to darken your sky, move the blue slider to the left, to lighten the vegetation, move the inexperienced slider to the correct, etc. If you are doing not apprehend that layer of color to switch, don’t panic. Adobe has thought of everything and created alittle tool terribly straightforward to use. merely click on the little image (4), currently position the indicator on space|the world|the realm} to be brightened or darken then click-drag to alter the colour of the chosen area. Going upwards you lighten and down, you opt for it. observe not?
Black and white window in light-weight area
If necessary, correct the distinction and tone of your image (Tone curve area). Again, you’ll modify, by click-drag, the shadows / tones of your image victimization constant tool as higher than.
Special effects.
Do not stop there! additionally get pleasure from the subsequent options to more modify your photo:
Vignette. Simulate the optical defects of some lenses by making vignetting from scratch.
Grain. produce a grain to convey bit|a bit} silvery touch to your image.
Partial flip. Add finally a sepia tone (value of the hue: forty in light-weight and / or dark tones then concerning thirty in saturation).
Some tips and tricks to form lovely black and white photos
Take your photos in Raw format. you may therefore keep all the knowledge entered by your detector.
Choose the monochrome image vogue once shooting. you may be ready to read in black and white the image you’ve got simply taken and find a plan of the outcome. additionally, having chosen the Raw format can enable you, if necessary, to come back to the colour version if you’re not happy with the result.
If you’ll not get the specified result from the layer mixer, amendment the white balance (temperature and hue). this can spread the colours on your image.
I simply need to tell you before long for a replacement tutorial Photographic .
Also read more,
Clippingphotoindia – photograph retouching specialist organization close to you. We modify item, model, allure and infant by proficient retouches at modest expenses.
Tag:
